Original Article Published here at FourWheeler.Com by Jason Gonderman.
Supporting our Truck Trend Network family of events takes an army of dedicated people and one trusty support vehicle. We’ve had our ’12 Nissan NV3500 high-roof cargo van since it was new, and it has been serving as the exclusive support vehicle of the Truck Trend Network since 2014. Ever the workhorse, we’ve spent several years and countless hours trying to organize it in the best and most efficient way possible. Needless to say, none of our attempts at organization lasted very long.

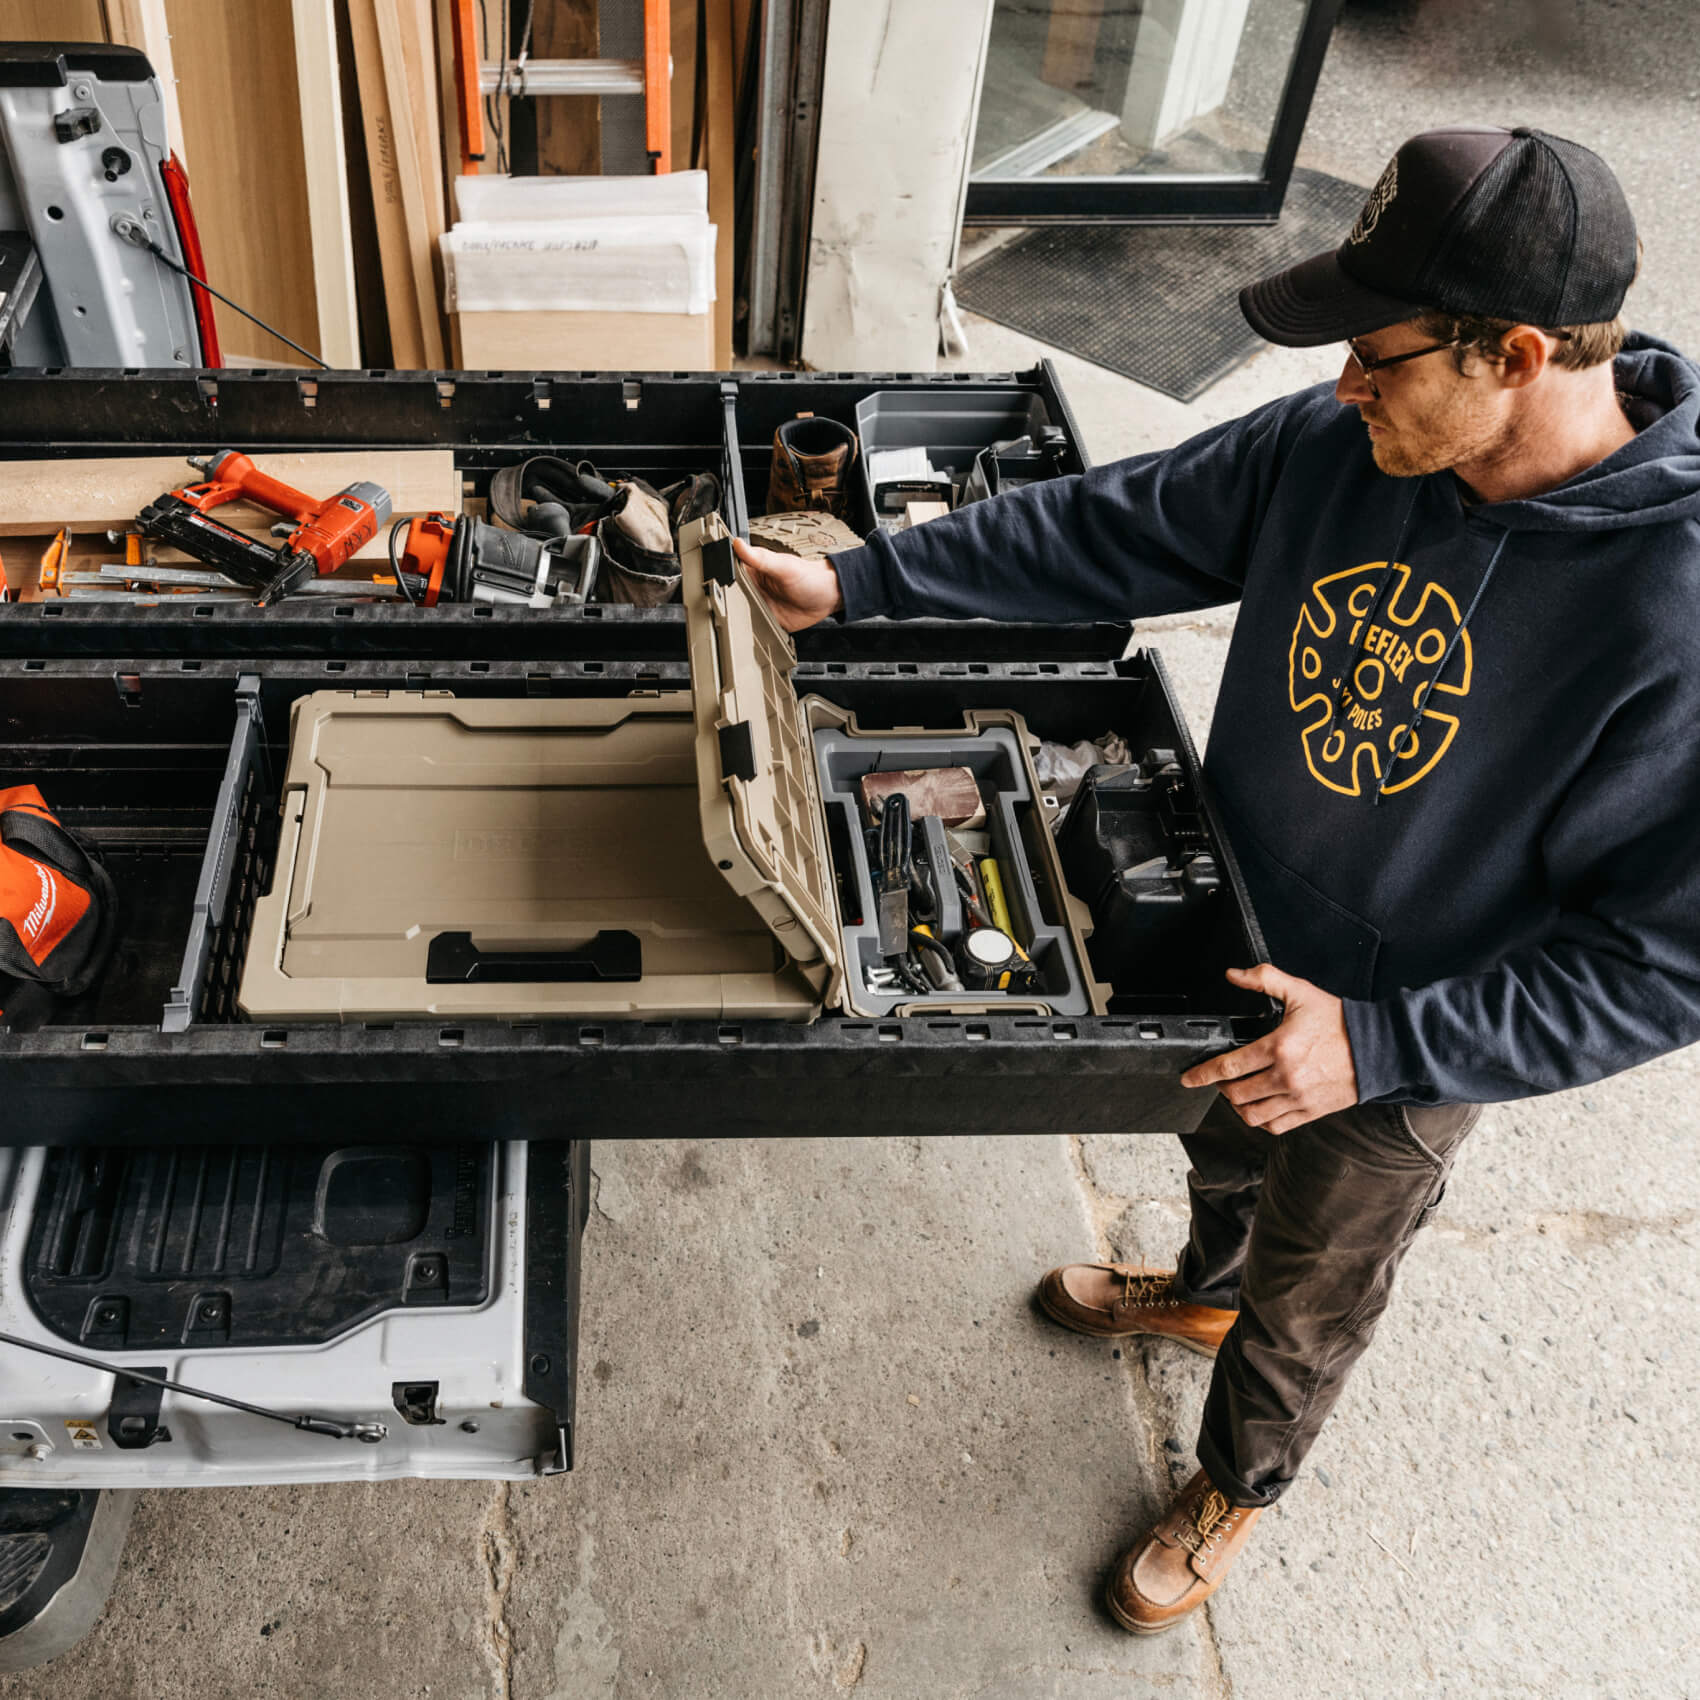
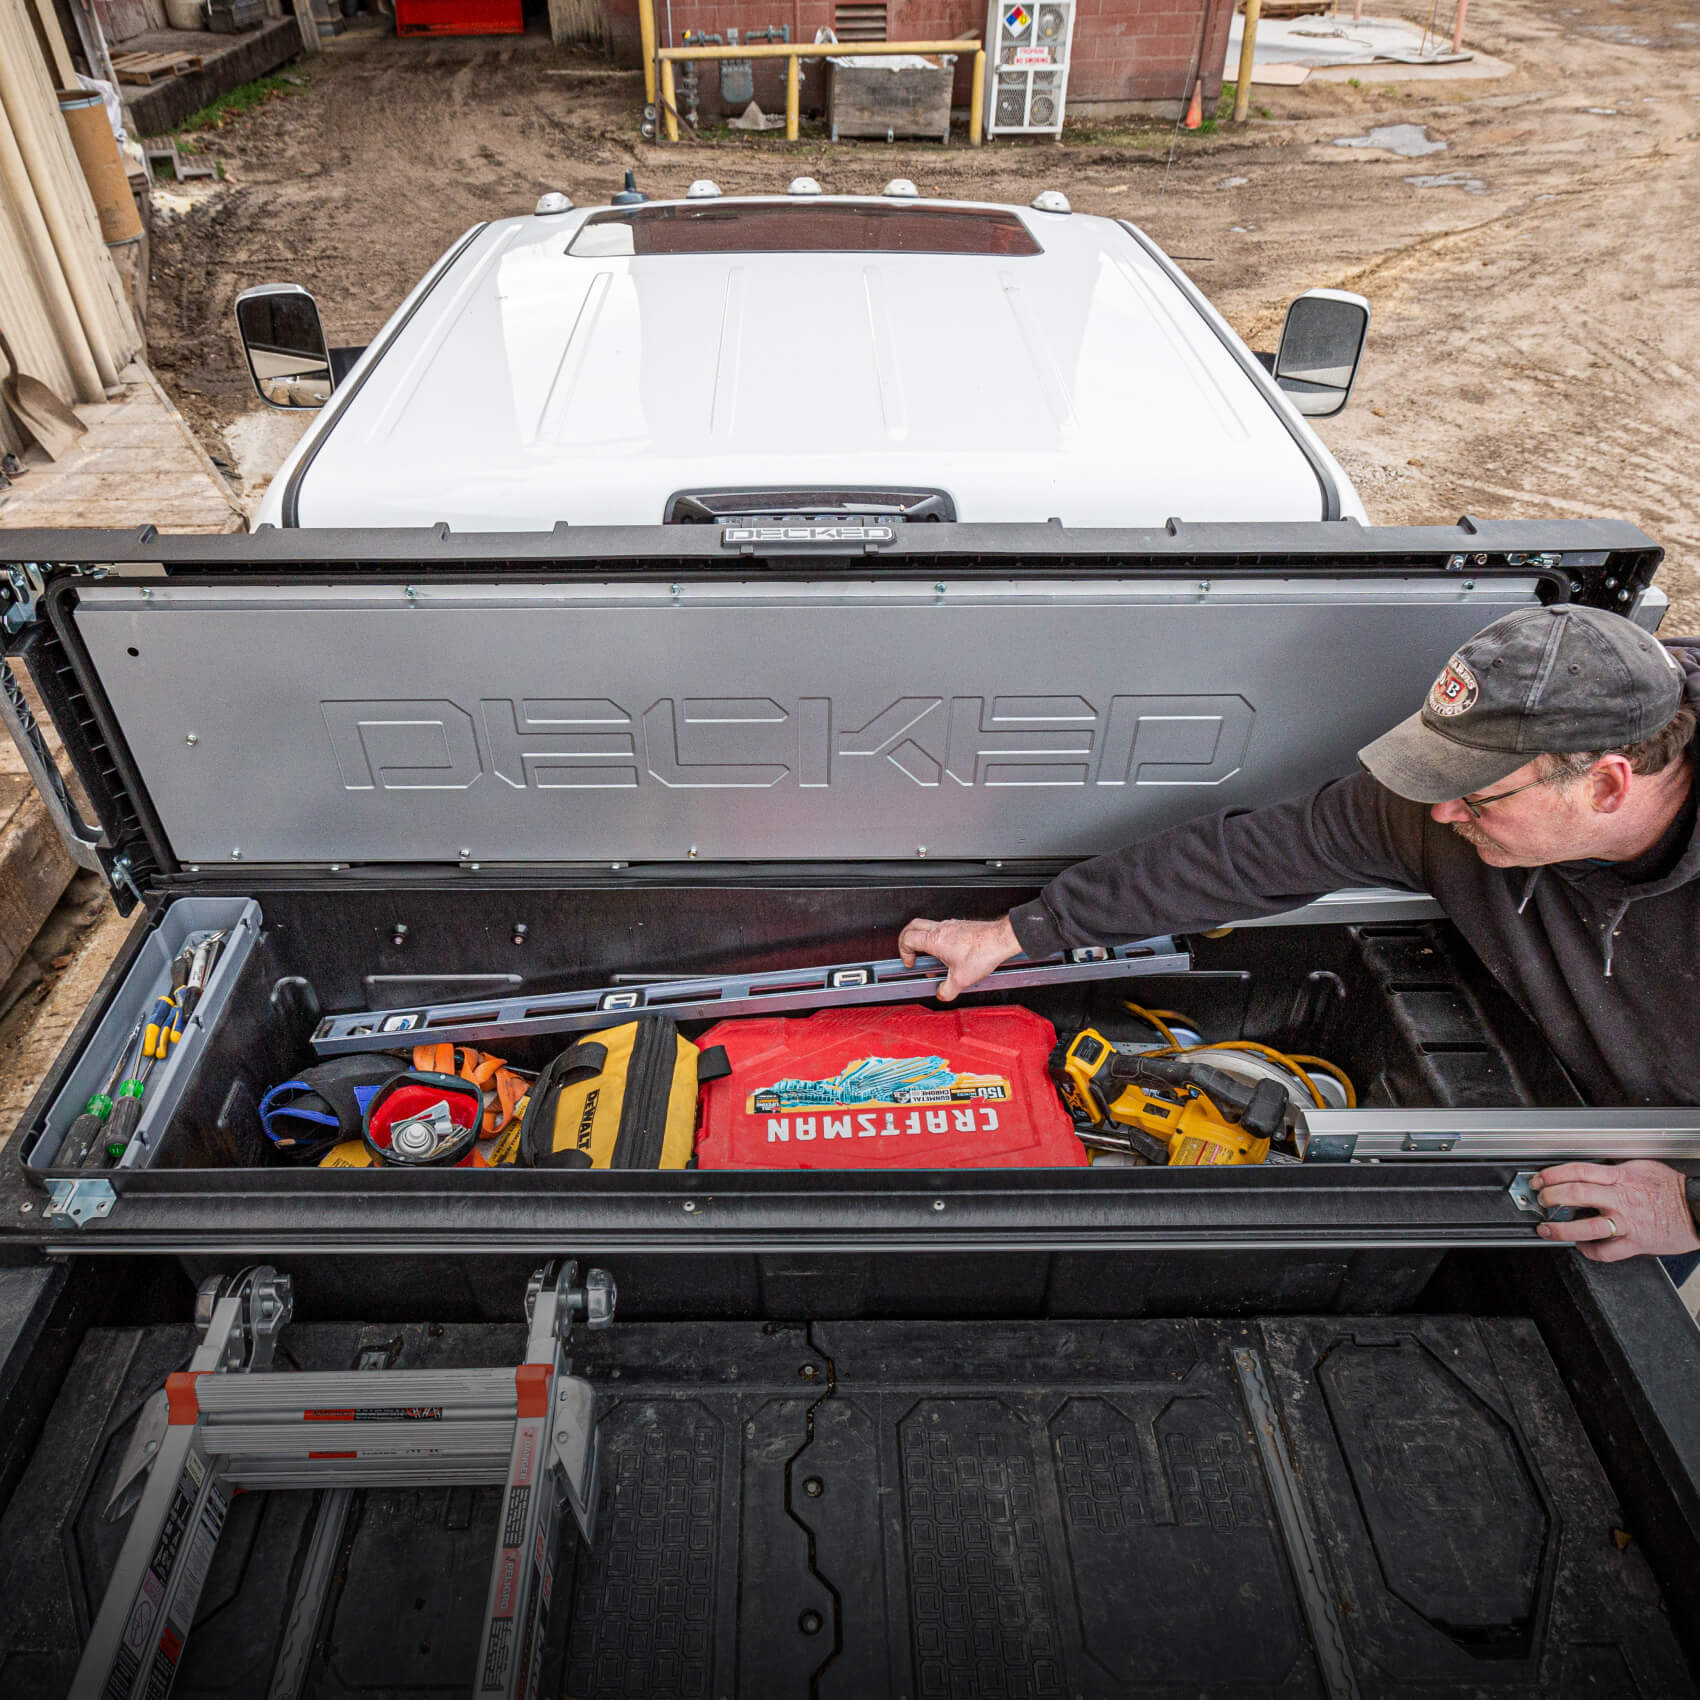
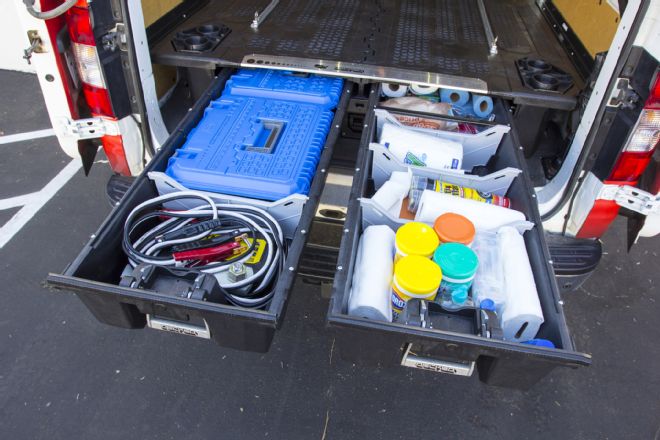
Each of the two drawers is rated to hold up to 200 pounds of whatever you feel like putting in it. We opted to place tools and hard goods on the left, with consumables and soft goods on the right. We also added on a pair of D-Box toolboxes and a set of the company’s drawer dividers.
With three relatively skilled sets of hands working on the project, we were able to complete the installation in about four hours. Don’t think you’re doing this one solo; you’ll need at least one buddy to help manhandle the larger pieces. Assembly and installation isn’t complex, but you’ll need a firm grasp on how to read directions. And we highly suggest watching the installation overview video on the Decked website prior to opening the box.
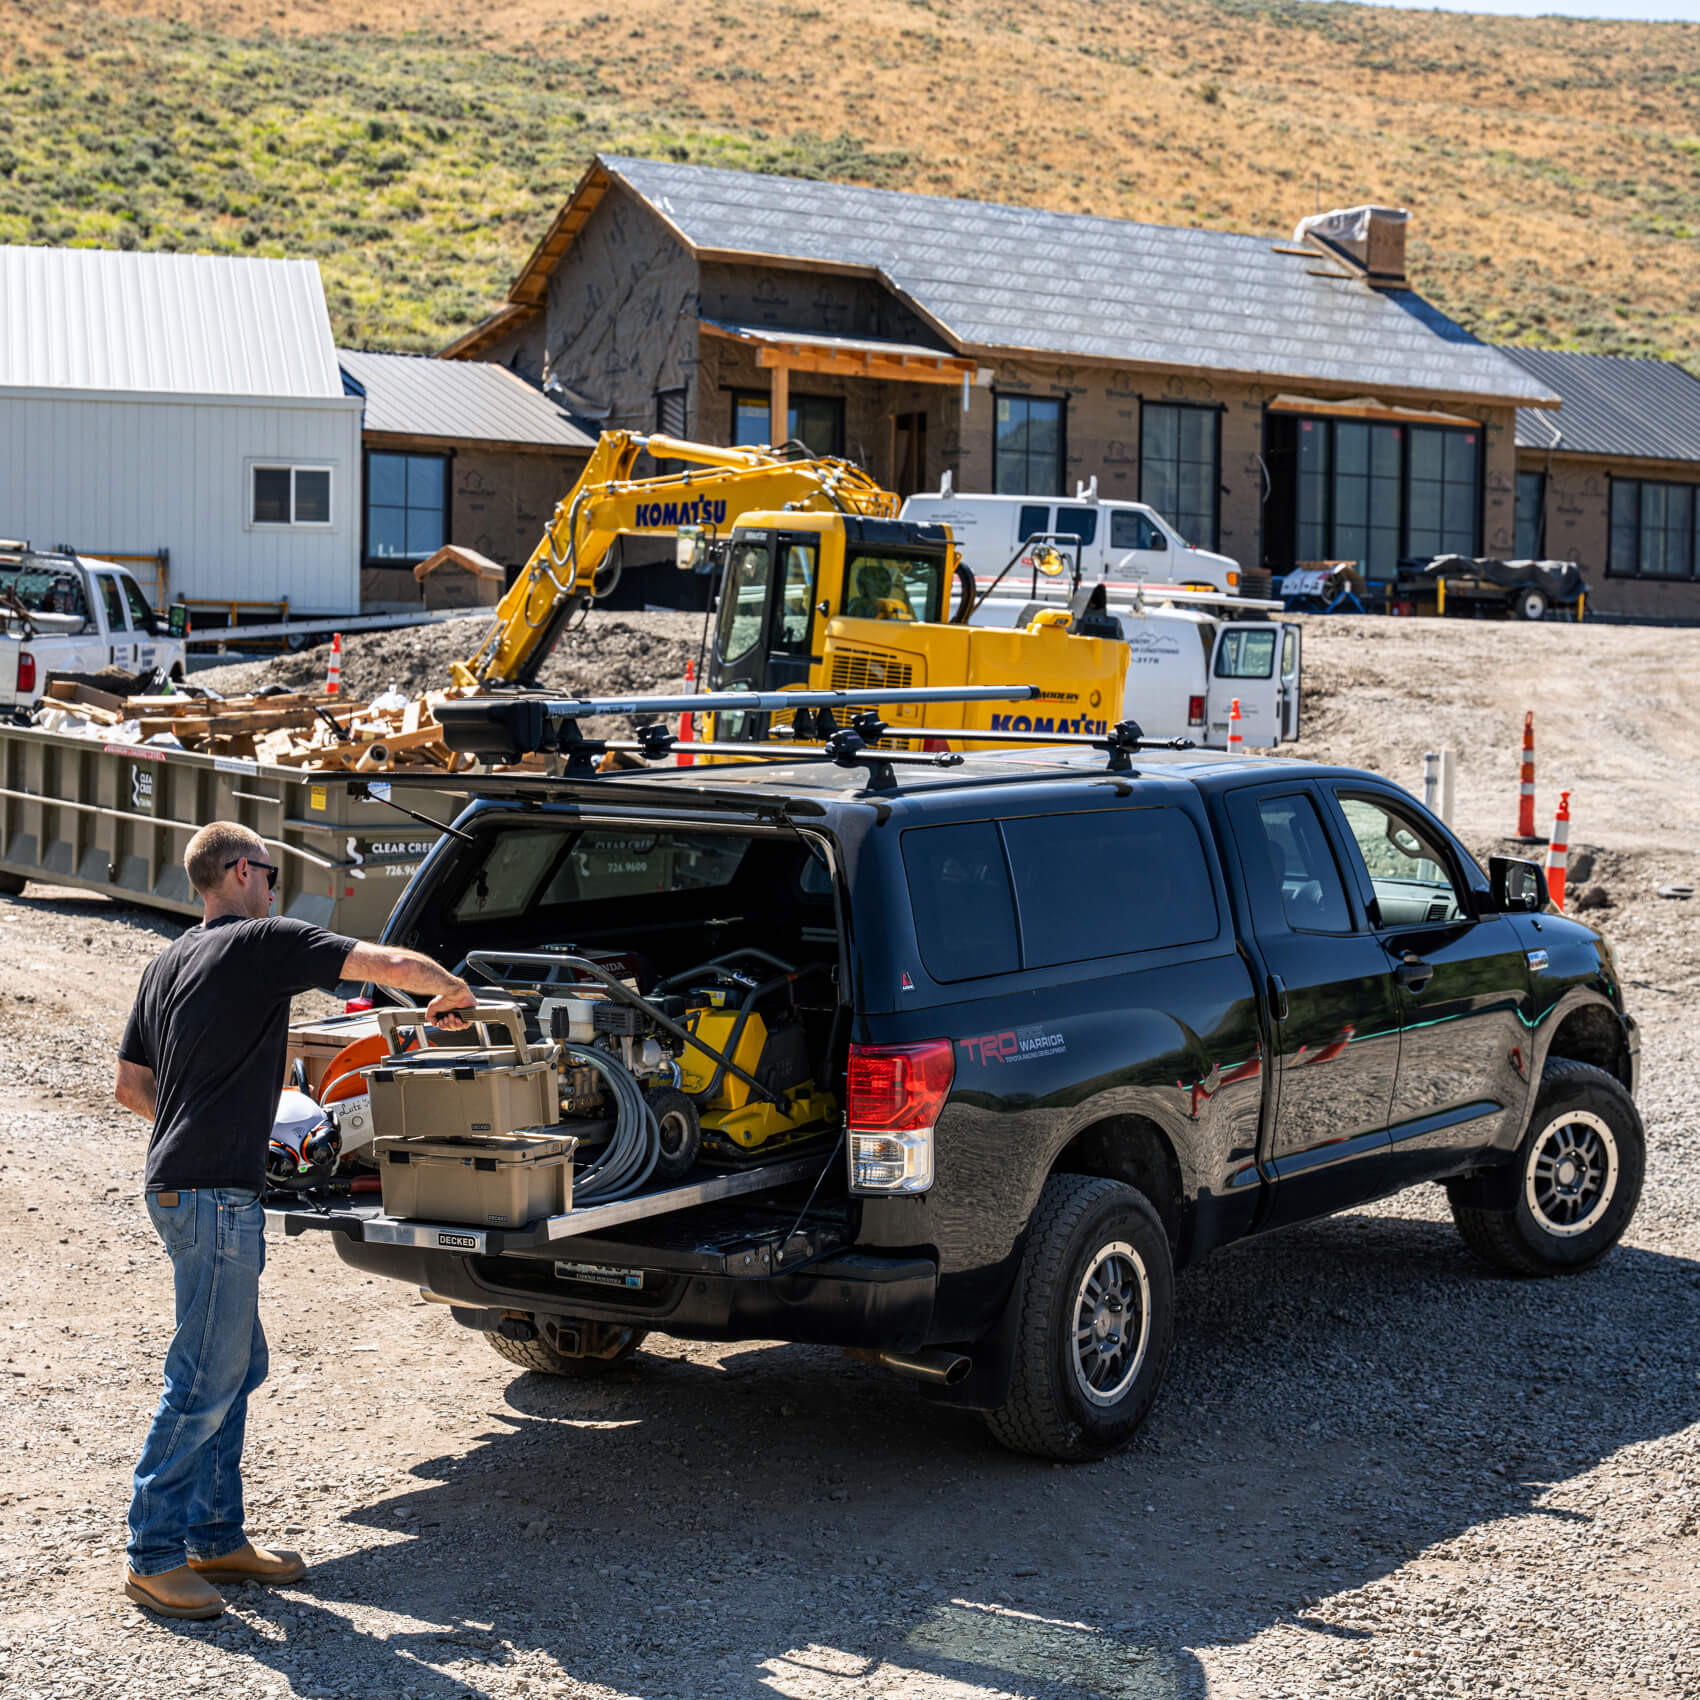
Living with the Decked drawer system has been great. We’ve been able to keep tools and other consumables organized and out of the way in what will now be their permanent home. With the drawers full and the deck on top stacked with hundreds of pounds of gear and equipment, the drawers still glide easily and the latches work perfectly. We’ve been nothing but impressed with the quality and functionality of our Decked drawer system thus far and highly recommend it for anyone looking to bring a bit of organization to their cargo van or pickup box.

When cleaned out, our ’12 Nissan NV3500 high-roof is quite cavernous. Naturally, we were at first concerned about losing about a little more than a foot of headroom to the Decked system. However, being a high-roof model, we will have enough space for all but the tallest among us to stand in the van’s cargo hold.


Whether pickup or van, all Decked installs begin the same way: by shimming the load floor. These double-stick plastic shims ensure the drawers sit level, allowing them to glide freely with no binding. Where the shims get stuck varies by application, naturally.

With the shims in place, we set to work installing the system’s anchor points. These anchor plates replace the factory tie-down loops in the cargo area of the van. Pickups will either use the factory tie-down points, or similar anchors will be provided. Now is a good time to address power tool use as well. Decked highly recommends handtools only but also recognizes that most people will opt for power. If you use power tools, keep them on a low setting and be gentle. While they speed up the process, getting anxious could damage things.

Once the shims are set and tie downs in place, it’s time to start assembling the system. First, a C-channel drawer guide connects the two corner ammo cans (their term, not ours). Next, the corner cans along with the center rib are sat into place. Then, the first half of the top deck can be lowered into place. This is where a buddy comes in handy.

After snugging the first side of the top deck, the second half can be lowered into place. With all of the pieces lined up, a firm tap is used to fully seat the pieces. Do not draw them together with the bolts.

The top deck holds the whole assembly together by bolting to the center rib and at each corner to the ammo cans. The center rib bolts tighten into nutserts in the plastic, which is why it’s doubly important that they are not overtightened.

Remember the anchors that we installed way back in the beginning? A set of four J-hooks attaches through the ammo cans to the anchors and serve to hold the system in place in the vehicle. These are tightened to snug in a crisscross pattern, which also helps center the unit.

For our Nissan NV application, Decked supplies an angled piece of plastic that helps fill any gaps that may be present where the unit meets the interior wall. Self-tapping screws secure the pieces.

After getting the base in place, it’s time to move to the drawers. In an effort to keep costs as reasonable as possible, the bulk of the Decked system is shipped in pieces. The first step of drawer assembly is to install the rear corner supports, which also double as axles for the guide wheels. Once the corner supports and cross bar are in place, the wheels can be slipped on the axle and snugged in place.

Wheel install

After flipping the drawer over, a pair of support rails are attached under each lip. Press in weld nuts and a bolt secure these brackets to the drawer underside. The nuts should press in with a thumb push, but we found the gentle tap of a tool more suitable for our delicate thumbs.

Assembling the handles is definitely easier than it looks. Working from the underside of the drawer handle pocket, the springs are inserted first, with the red spring on the right. The clevis pins hold the springs in place, along with serving as the handle pivot. With the springs in and the pins halfway, the handle is lifted into place and secured by pushing the clevis pin all the way through. Simple enough, right?

We also needed a second set of hands when it came time to install the front guide wheels. This is done with the drawer in place, as the wheels act as a drawer stop as well. With one person lifting up on the drawer, the second person was able to install the wheels on their axles and tighten the retaining bolt.

Finally, and most importantly, the trim pieces are installed. Decked provides a handy ruler complete with bolt sizes and unit conversions along the front lip, and of course, a bottle opener in the lower concealment panel. Priorities.

Overall, we’re incredibly pleased with how the install turned out. We love the utility of the drawer system and even the corner ammo cans have gotten good use. We opted to add tie-down anchors to the top of the deck using the company’s Core Trax rails, which bolt to the metal substructure and can secure up to 500 pounds.

And we can’t forget our favorite feature: the cupholders on the underside of the ammo can lid. Again, priorities.